Thank you all for the replys !
Gunner: Thank you, However it is going to have to be portable

Metro: Awesome Man, I will certainly be using these, Thank you Man

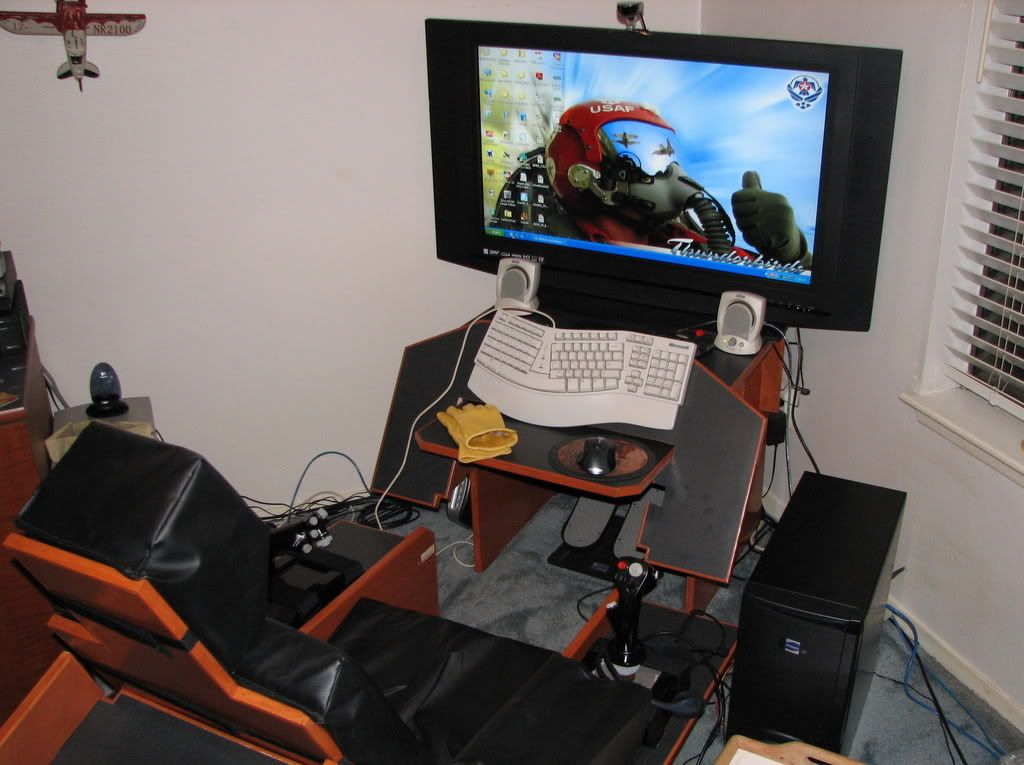
Rock: I must say I was worried about that, From most of the pictures I have seen the seat positions seem fairly inclined, I was wondering if this takes time getting used to ? and what your Ideas are on how much, or if its just your own preference.
For the building material I was told the same thing you have told me, I do plan to paint it, so as far that goes I much rather have performance then good looks. ( Even though I do plan for both

)
As for stick I am going to use tie-straps, along with building a small area for the base of the stick to " Sink " into, so that the Base of the X52 is flush with the wood, along with some other modifications to accommodate the Occasional Drink ( Non Alcoholic Of Course

)